
UF VPN Installation and Usage
PDF Version Download: UF VPN Instructions
What is the UF VPN?
The UF VPN provides secure remote access to the University of Florida network and it makes it appear as if your computer were physically attached to the campus network. By using the UF VPN, you may access resources on the UF network that are not typically available when not connected to the UF network. These resources include, but are not limited to:
- Windows Shared Folders (Connecting to Network Folders)
- Network Computers (Remote Desktop Connection)
- Network Printers
- UF Library Journals
- UF Software Licensing Services
The UF VPN should only be used when needing to access these resources or when you need encrypt your internet traffic. You should NOT be connected to the UF VPN when using video streaming services like Netflix or downloading large files that are not UF related.
Installation Instructions
-
Windows Instructions
You can install the VPN by visiting the Network Services page at https://net-services.ufl.edu/provided-services/vpn/clients/ and downloading the two files listed under the Windows section. You may be prompted to login with your UFL credentials when visiting the Network Services page.
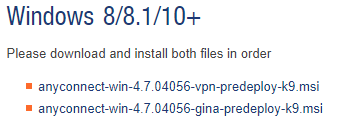
This is a very important step; install the file that has vpn in the name first. After that installation is finished, then install the file that has gina in the name. Once that installation is finished, it will prompt you to reboot your computer. You will need to reboot your computer for the VPN client to be completely installed.

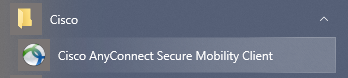
After your reboot, you can launch the client by clicking Start and searching for Cisco AnyConnect Secure Mobility Client or by going to Start > All Apps/Programs > Cisco > Cisco AnyConnect Secure Mobility Client.
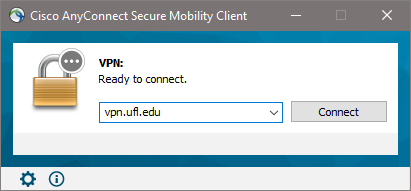
After opening the client, enter vpn.ufl.edu into the field and click Connect.
You will be prompted with a window asking for your UFL credentials. You will use your full UFL email and password in this window. If you are 2FA enabled, you will get a prompt on your device to approve this login request.

If you are successfully connected, the Cisco AnyConnect window will say you are connected and the Cisco AnyConnect icon on your taskbar will have a lock on it.
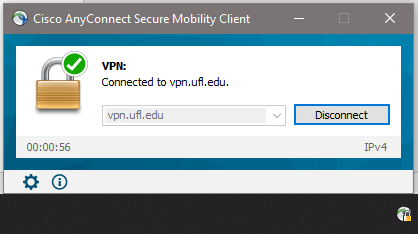
To disconnect from the UF VPN and end your session, you would just click Disconnect in the Cisco AnyConnect window or right-click the Cisco AnyConnect icon and click Disconnect.
-
MacOS Instructions
You can install the VPN by visiting the Network Services page at https://net-services.ufl.edu/provided-services/vpn/clients/ and downloading the two files listed under the Mac OSX section. You may be prompted to login with your UFL credentials when visiting the Network Services page.

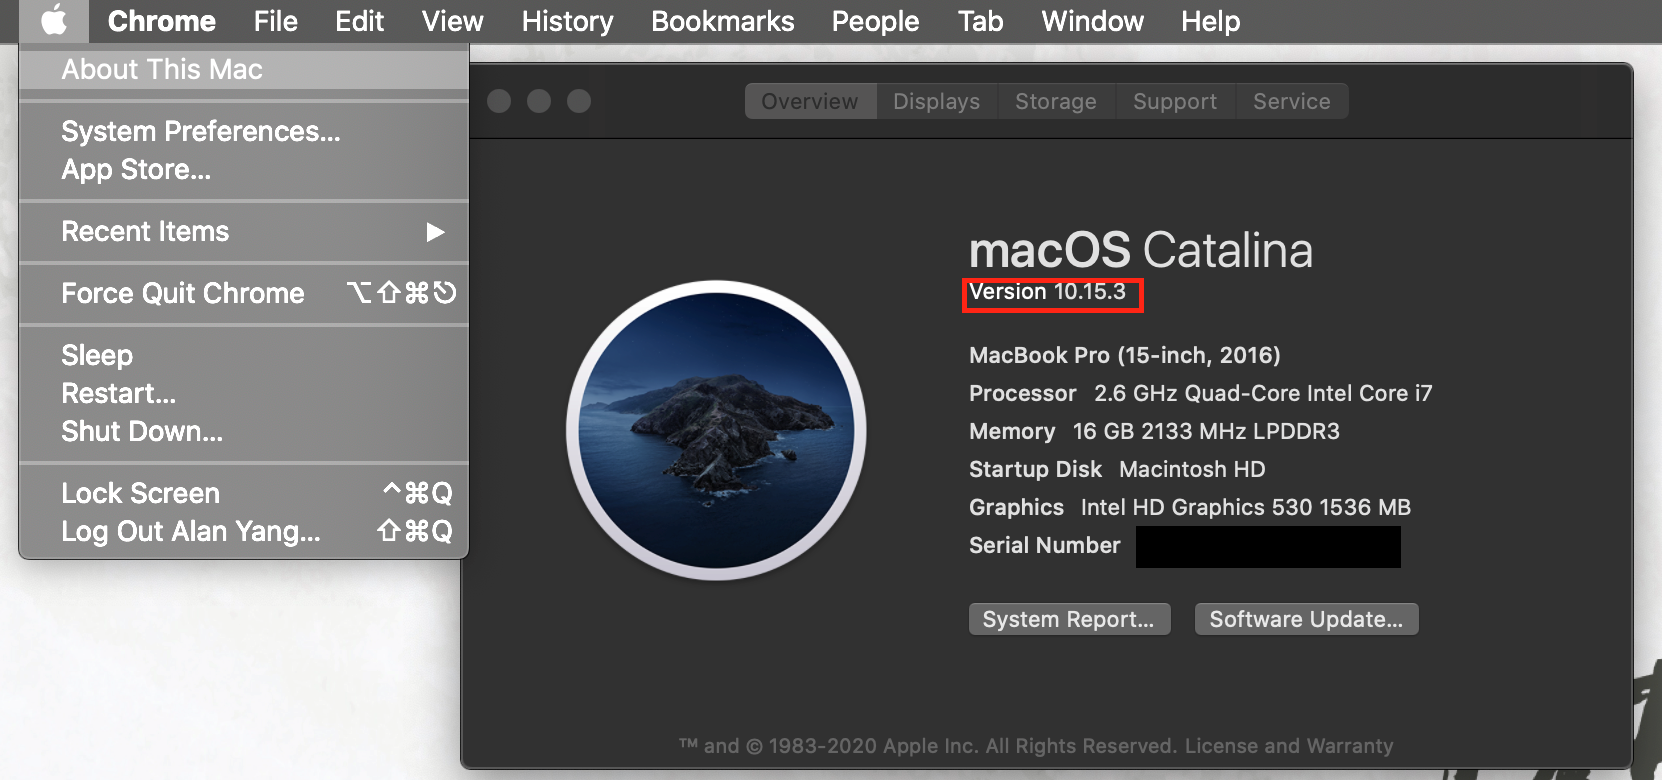
To find out which MacOS you have installed, click the Apple logo on the top-left of your screen and click About This Mac. You will be able to find your version in the open window. Once you have found your MacOS version, download and install the correct client.
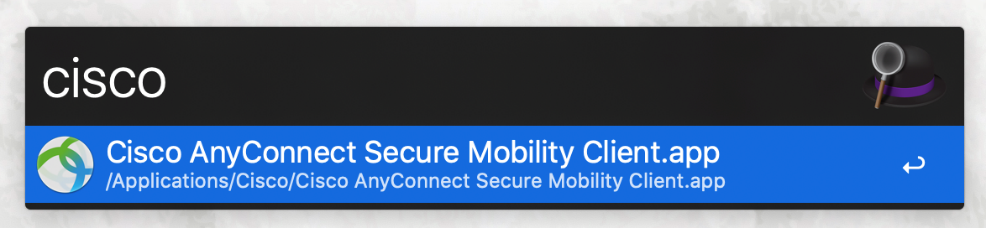
Once the installation finished, you can launch the client by hitting Command + Space and searching for Cisco AnyConnect Secure Mobility Client or by opening your Finder and going to Applications > Cisco > Cisco AnyConnect Secure Mobility Client.
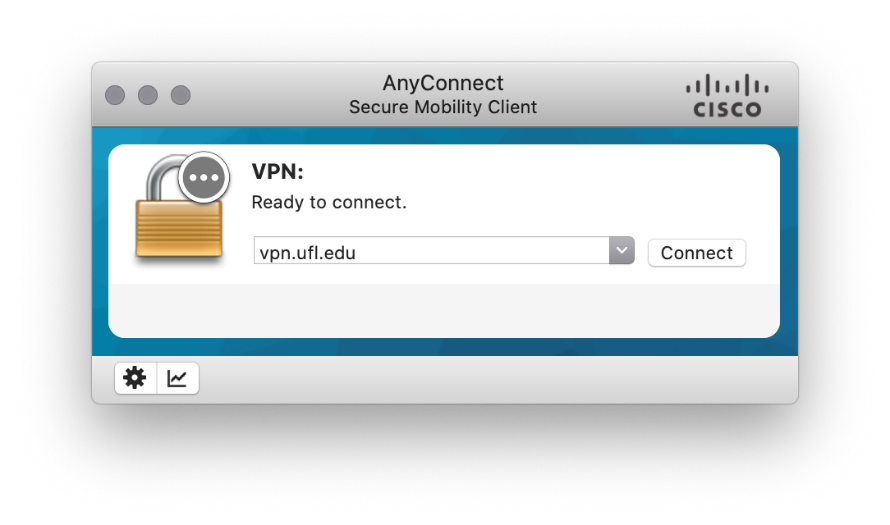
After opening the client, enter vpn.ufl.edu into the field and click Connect.
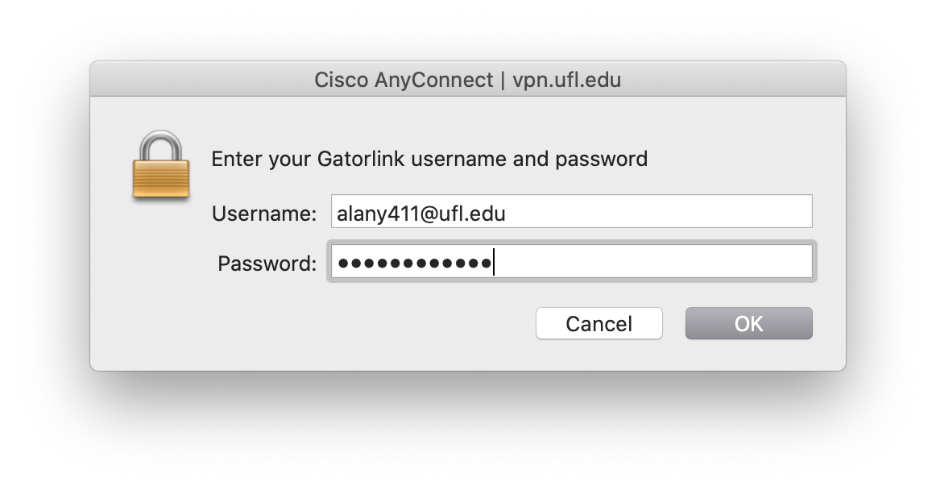
You will be prompted with a window asking for your UFL credentials. You will use your full UFL email and password in this window. If you are 2FA enabled, you will get a prompt on your device to approve this login request.
If you are successfully connected, the Cisco AnyConnect window will say you are connected and the Cisco AnyConnect icon on your taskbar will have a lock on it.
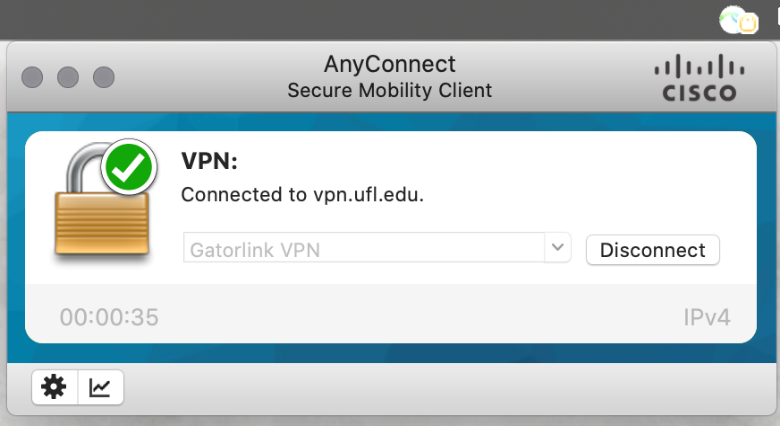
To disconnect from the UF VPN and end your session, you would just click Disconnect in the Cisco AnyConnect window or right-click the Cisco AnyConnect icon and click Disconnect.